

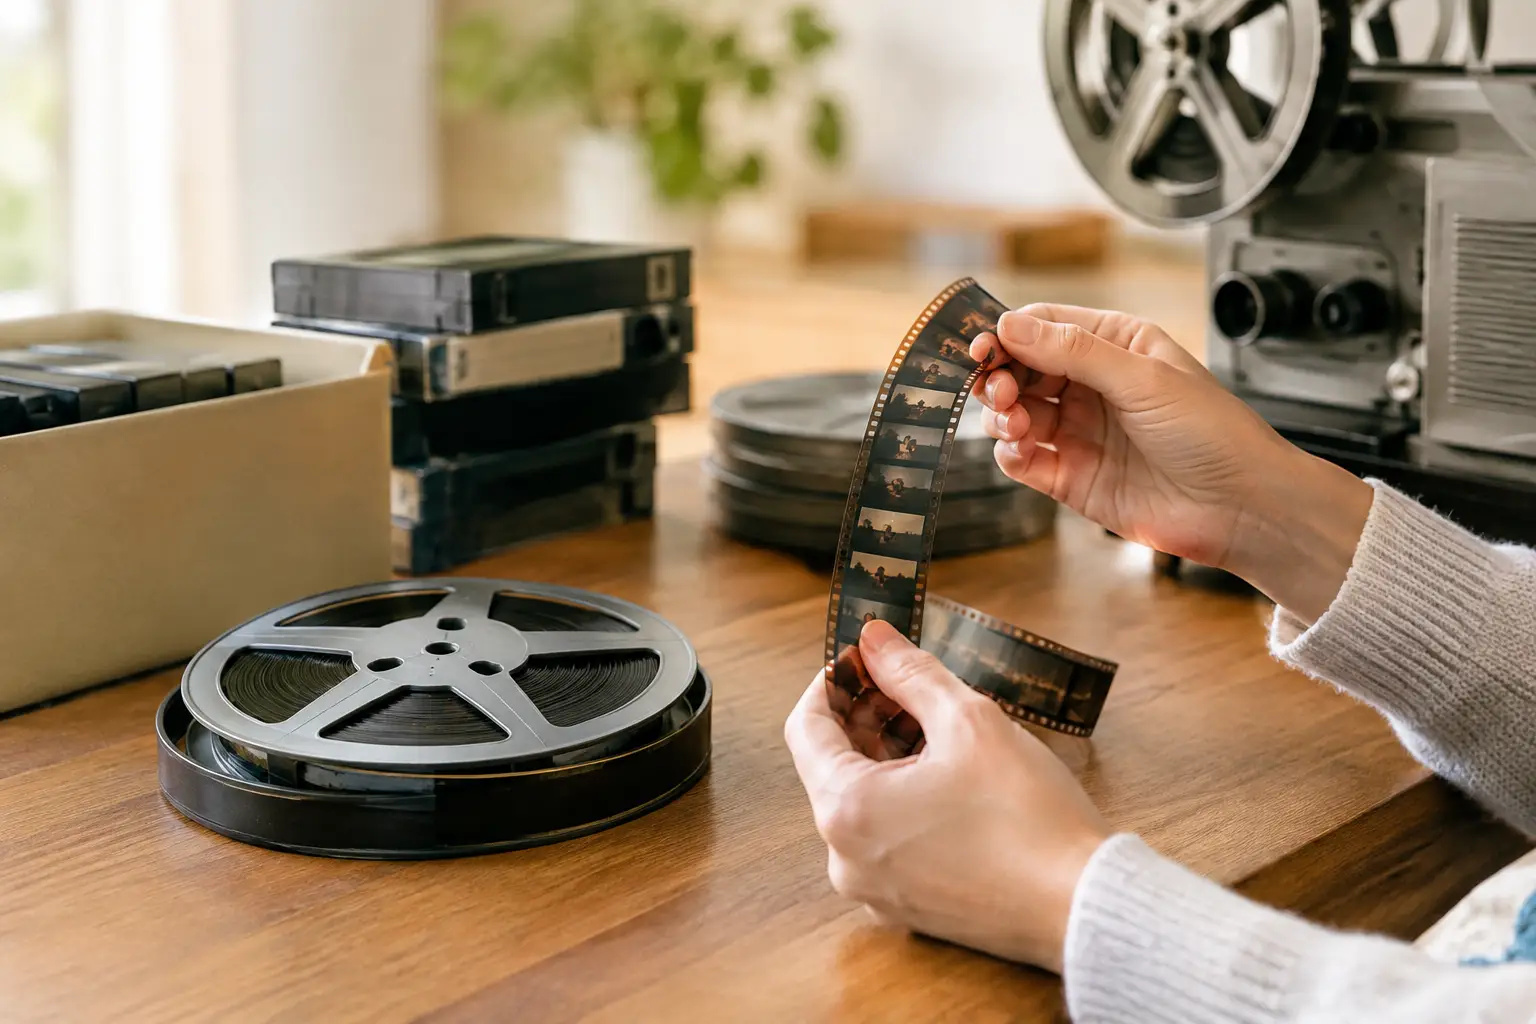
That box in the closet may hold more than old tapes. It may contain a child’s first birthday, a grandparent’s voice, a backyard wedding, or a long-lost Christmas morning recorded on a camcorder. Unlike a favorite classic film that can be restored from surviving elements, many home movies exist in only one place. Learning how to preserve home movies is less about chasing perfection than making sure those moments can still be watched, shared, and remembered.
Start With the Originals, Not the Transfer
The first job is to take inventory. Gather every format you have: VHS and VHS-C, Hi8, Digital8, MiniDV, Video8, DVD-R discs, Super 8 or 8mm film reels, and files from early digital cameras. Do not assume a tape labeled “miscellaneous” has no value. The unlabeled cassette at the bottom of the box is often where the surprise lives.
Create a simple record as you go. Note the format, any visible label, an estimated date, who appears in the footage, and its condition. A line such as “VHS-C, summer 1994, beach trip, slight mold on case” can save a great deal of confusion later. If several relatives have collections, ask about them before you begin. One person may have the only recording of a family reunion or a missing portion of an event.
Handle media gently. Keep tapes and reels away from food, drinks, magnets, direct sunlight, garages, attics, basements, and car trunks. Heat, humidity, dust, and temperature swings are enemies of aging media. If a reel smells strongly of vinegar, film is shrinking or buckling, or a videotape shows visible mold, set it aside. Trying to play damaged media can make a bad situation worse.
How to Preserve Home Movies by Format
Every format ages differently, so the best approach depends on what you own. Videotape can suffer from brittle plastic, stretched tape, sticky residue, or playback equipment that has worn out. Film can fade, warp, scratch, or become chemically unstable. Recordable DVDs may fail without warning, especially inexpensive discs stored in poor conditions.
For VHS, Hi8, MiniDV, and similar tapes, digitization should be the priority. The tape is not the long-term destination. It is the source material. A working deck or camcorder plays the footage into a computer or a dedicated capture device, creating a digital file that can be copied without further wear on the original.
Film needs particular care. Never use a projector just to check an old reel if the film looks brittle, curled, heavily scratched, or smells unusual. Projectors can damage fragile film. A reputable transfer service can scan it frame by frame, preserving more detail than simply recording a projected image. This costs more than a basic transfer, but it is often worth it for unique footage, especially 8mm and Super 8 family films from the 1940s through the 1970s.
DVDs should be copied while they still read reliably. If the disc was created on a home recorder, it may already be nearing the end of its usable life. Make a digital copy and test it on more than one device.
Choose DIY or Professional Digitization
A do-it-yourself project can be satisfying, especially for a small collection in good condition. You retain control, can watch footage as it transfers, and may spend less if you already own compatible playback equipment. But DIY capture has trade-offs. Old VCRs and camcorders can chew tapes, tracking problems can affect the image, and a low-quality converter can turn treasured footage into a soft, unstable file.
Professional digitization is often the safer route for moldy, damaged, rare, or irreplaceable media. Look for a service that explains how it handles originals, whether it cleans or repairs tapes, what resolution and file types it provides, and whether it returns everything. Ask for actual digital files, not only a DVD. A disc is convenient for giving someone a copy, but a properly stored file is easier to duplicate, organize, and preserve.
For film, ask whether the service performs a true scan rather than a wall-projection transfer. For video, ask whether transfer is done in real time and whether the provider monitors the footage for playback issues. The goal is not to make a 1980s camcorder recording look like a modern feature film. It is to capture the best faithful version of what is there.
Keep a High-Quality Master File
When the transfer is complete, save one master file with as little compression as practical. A high-quality master gives you room to create smaller copies for phones, email, or a family slideshow without repeatedly compressing the original transfer.
Then make a viewing copy. This can be an MP4 file that plays easily on modern TVs, computers, and tablets. Keep the master and viewing version clearly named so nobody mistakes a compressed share file for the archive copy.
A useful naming pattern includes the date, event, and people involved. For example: `1992-07-04_Smith-Family_Picnic_VHS_Master` is far more helpful than `MOVIE003` or `Tape 12`. If the exact date is unknown, use an estimate such as `circa-1968` and add context in a notes file. Future viewers will be grateful for every clue.
Build Copies in More Than One Place
One hard drive is not preservation. Drives fail, laptops are replaced, and cloud accounts can be closed or forgotten. Keep at least three copies: a master on a primary external drive, a second copy on another drive stored elsewhere, and a copy in a reputable cloud storage account.
The off-site copy matters. A fire, flood, theft, or electrical surge can take out every drive sitting in the same room. For truly meaningful footage, consider giving a copy to a trusted relative in another household. Family history is safer when it does not depend on one person’s computer.
Check the files occasionally. Open a few at random every year or two, confirm that the drives are functioning, and replace aging drives before they fail. Digital preservation is an ongoing habit, much like caring for a collection of classic screen treasures. The format may change, but the footage should keep moving forward.
Preserve the Story Around the Footage
A home movie becomes richer when viewers know what they are seeing. Add a text document, spreadsheet, or digital folder note with names, locations, dates, and a short description of each clip. Identify the person behind the camera when possible. Their point of view is part of the record too.
This is especially valuable for silent film reels and early recordings with poor audio. A few details can turn an anonymous image of children on a porch into “Grandma June and her brother Walter in Tulsa, summer 1956.” That context gives the footage the same kind of life that thoughtful curation gives a classic cartoon, serial, or old Hollywood picture.
If time allows, invite older relatives to watch with you. Record their memories or write down what they say. They may recognize a house, a uniform, a family friend, or a small tradition nobody else remembers. Do this sooner rather than later. Knowledge disappears faster than most tapes do.
Keep the Physical Originals After Digitizing
Do not throw away tapes or reels immediately after transfer. Keep the originals in a cool, dry, stable space, ideally in labeled archival cases. The original may contain information missed in a transfer, and future technology may produce a better result. A scratchy VHS recording may not look remarkable now, but it could become the only surviving image of someone important.
Avoid rewinding and replaying tapes unnecessarily. Store them upright, not stacked under heavy objects. Keep film reels in appropriate containers and avoid sealing damp or moldy material in airtight plastic, which can trap moisture. If you suspect serious film deterioration or tape mold, consult a preservation specialist before attempting cleanup.
The reward is not merely a tidy archive. It is the moment a grandson hears a relative laugh for the first time, or a family gathers around footage they thought was gone. Preserve the files, label the stories, and make time to watch them. Home movies were made to be seen again.